My choice of fabric, threads and stitching, even after trying to make informed decisions, still leaves something to be desired. Some of the layering was in the wrong order, notes of those concerns are on each sample so hopefully these will stand me in good stead as I head towards the last chapters of the module. The result was that, as in previous chapters, learning takes place while actually doing the practical samples...it feels like my mantra is becoming 'I should have done...!' I did not want to flatten samples so these are photos and not scans.

Using cotton as background, first layer and top layer silk was used for second layer.
On seeing the finished sample felt it could be improved on making background layer more interesting as the cross was much broader than I imagined. Possibly use organza over the background as this was not going to be folded or made opening narrower. Stitching and 'corners' not executed as well as I had tried, felt I was all thumbs!
Ref 26 ii and iii


Enjoyed making these samples and have included 26iii with some of the overlaying fabrics left in place on photo at far left as it appealed to me and seemed to give added depth. Base layer hand dyed calico, first layer muslin 'mop' layer two and three manufactured printed ctton. Top layer hand dyed printed muslin.
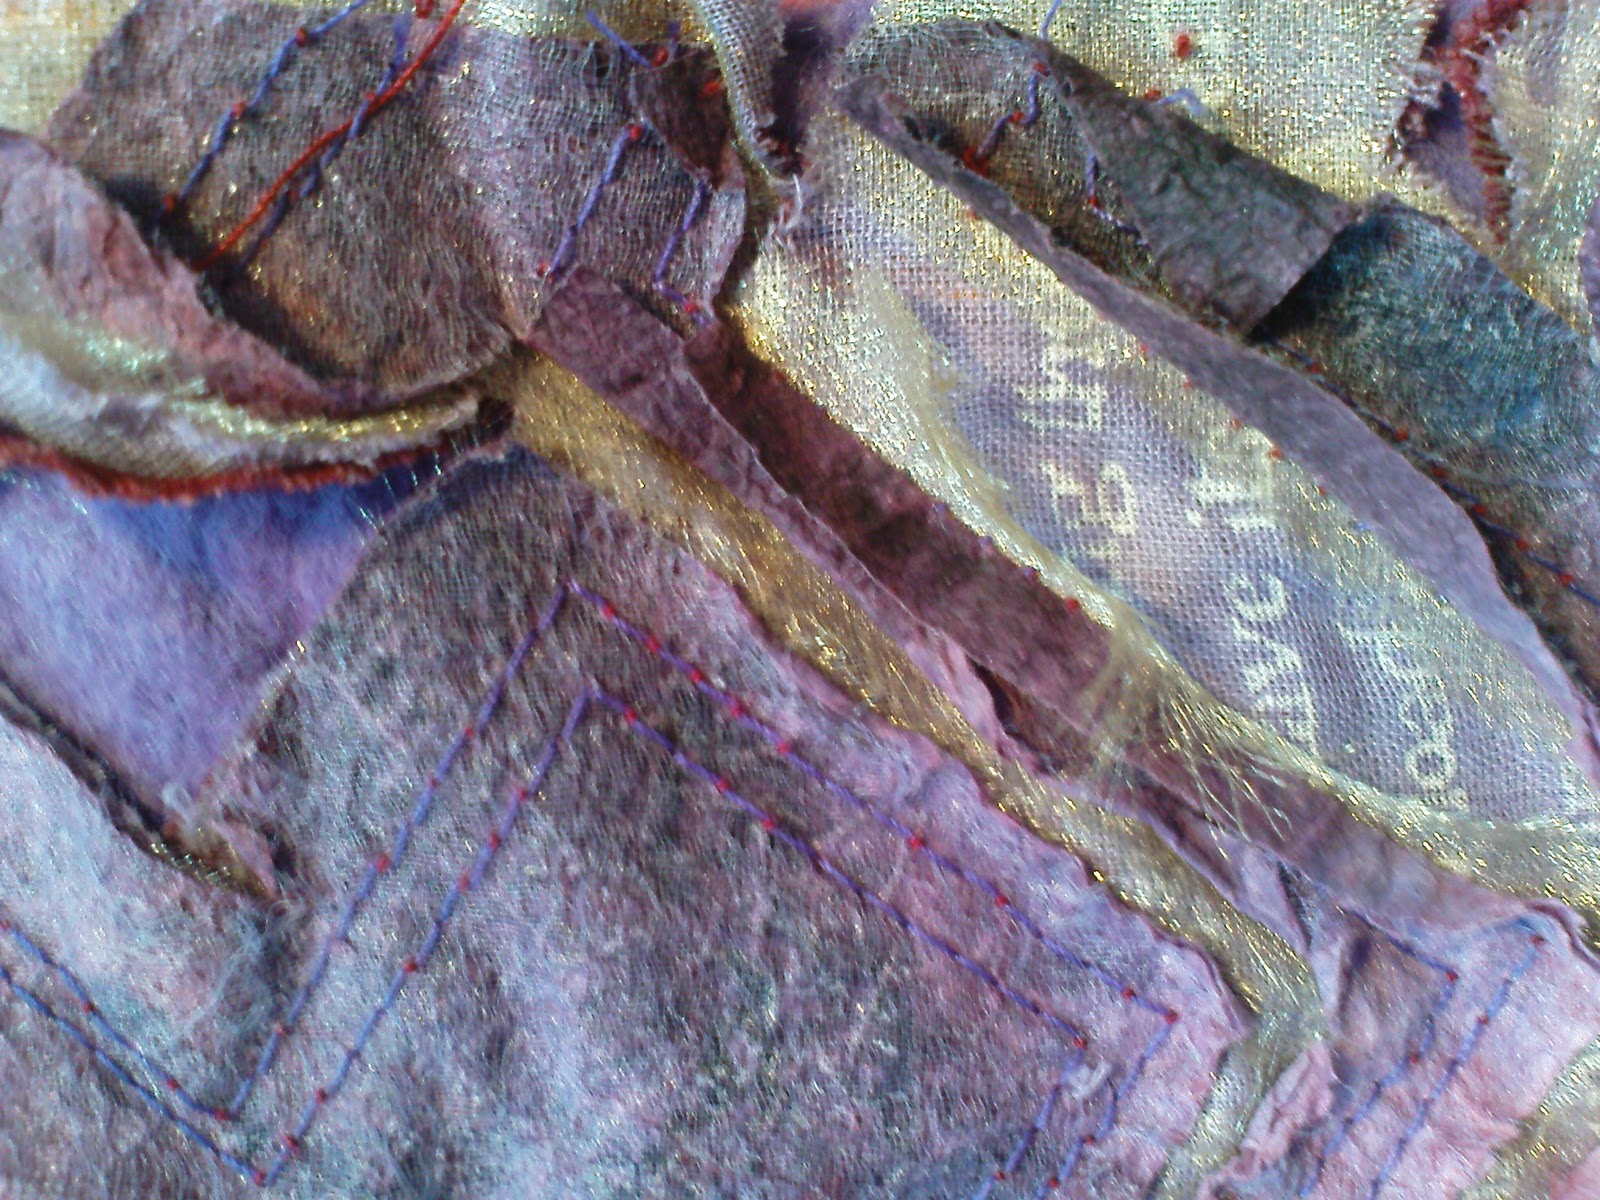
 Ref 26iv
Used seven fabrics on the sample felt as background, hand dyed green calico, yellow satin front and back as one side had more sheen(top right) and one more texture (bottom left under hand dyed muslin) two pink/red mops and top layer of hand dyed printed muslin. Photographed the sequence, below to show the progress. Used a long machine stitch to allow easier fraying. On reflection when adding the green square would have placed it in bottom left
1st cut 2nd cut


 3rd cut
Machine stitched the shape from the rear through the five layers of fabric;base layer felt, first layer manufactured printed cotton, second layer hand dyed printed muslin, polyester organza, 'mop' dyed paper bonded to chiffon. Despite much rubbing to distress the surfaces found that much of the layering effect I had hoped for did not appear.

No comments:
Post a Comment